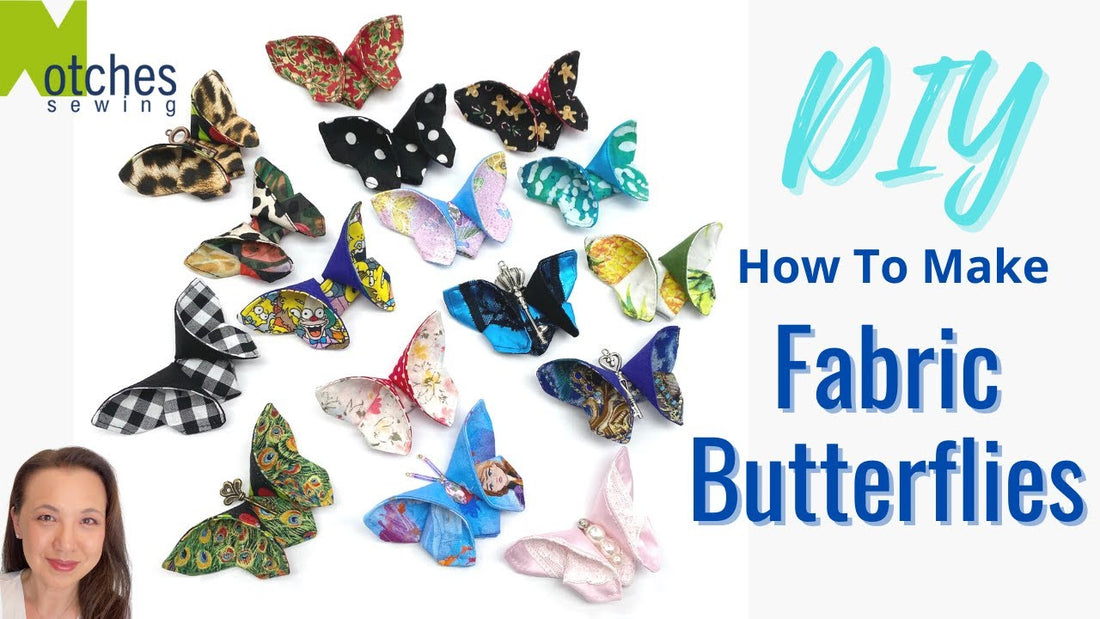
How to Make Fabric Butterflies | Easy DIY Tutorial
Share
Learn how to make beautiful fabric butterflies that you can use for quilting, accessories, or home décor. This tutorial shows you how to sew both a plain origami butterfly and a lace butterfly with a steampunk key charm in the centre. 🦋
What You’ll Learn
- Plain origami fabric butterfly using 2 fabric pieces
- Decorated lace butterfly with steampunk key charm
- Ideas for embellishments with sequins, beads, pearls, or embroidery
- Creative uses – quilts, gifts, or even hair accessories
Fabric Size
Start with 5" x 3.5" (13cm x 9cm). You can scale the butterfly to any size you like – keep the width about 70% of the length.
Support & Tools
If you’d like to support my channel: PayPal Donation | Buy Me a Coffee
Tools I use:
- Large Cutting Mat
- Rotating Cutting Mat
- 5" x 5" Template
- Silicone Template Grips
- Olfa Deluxe Rotary Cutter
- KAI 6" Scissors
- Pins
- Magnetic Bowl
- Japanese Thread Snippers
- Steampunk Keys (Assorted)
Disclosure: Some links are affiliate links. I may earn a small commission at no extra cost to you.
Video Timeline
- 00:00 – Intro
- 00:40 – Cutting & Tools
- 01:20 – Plain Butterfly
- 07:12 – Different Shape
- 07:55 – Lace Butterfly
- 09:28 – Turn into Hair Accessory
These fabric butterflies make lovely gifts or embellishments. Try them with lace, sequins, or embroidery for a unique touch. Don’t forget to LIKE, SHARE & SUBSCRIBE 🙏
