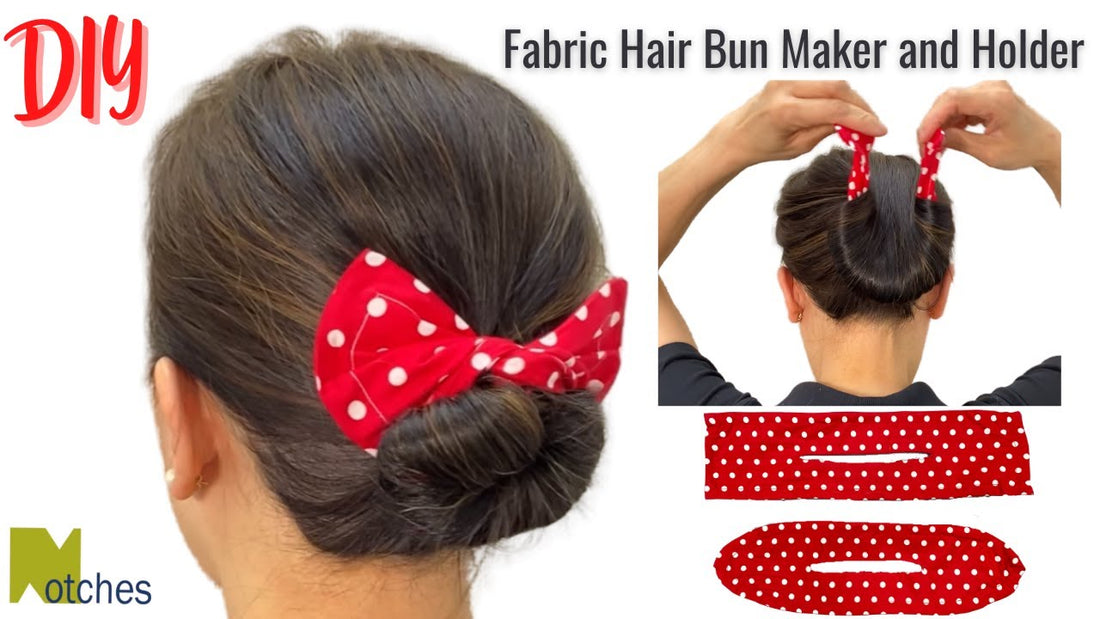
DIY Fabric Hair Bun Maker | Easy Sewing Tutorial
Share
You can make a stylish hair bun in just minutes with scrap fabric, craft wire, and a few simple tools! In this tutorial, I’ll show you how to sew two different bun maker styles using the same steps. It’s a quick, fun project and a great alternative to ponytails or large clips.
What You’ll Learn
- Step-by-step sewing guide for a fabric hair bun maker
- Two different styles with the same technique
- Tips for modifying the size to suit your style
Materials Used
- 100% Quilting Cotton (15" x 4.5" / 38cm x 11.5cm)
- 19 GAUGE Craft Wire (39" for square, 33" for round)
To create a hair bun, slip your hair through the centre opening, twist once, roll under until snug, and finish by twisting the fabric ends into a bow. ✨
Support & Tools
If you’d like to support my channel: PayPal Donation | Buy Me a Coffee
Tools I use:
- Large Cutting Mat
- Wide Quilting Ruler
- Silicone Template Grips
- Rotary Cutter
- 2” B95 Quilting Grid Ruler
- KAI Scissors
- Thread Snippers
- 19 Gauge Stainless Steel Craft Wire
- Point Turner
- Vanishing Marking Pen
Disclosure: Some links are affiliate links. I may earn a small commission at no extra cost to you.
Video Timeline
- 00:00 – Intro
- 00:26 – Materials & Tools
- 00:48 – Cutting Fabric
- 01:50 – Cutting Wire
- 02:06 – Sewing
- 05:54 – Turning Right Side Out
- 06:18 – Topstitch Channel
- 07:35 – Threading Wire
- 08:09 – Modify Shape
- 09:57 – How to Use
Have fun sewing and creating your own bun makers! Don’t forget to LIKE, SHARE & SUBSCRIBE 🙏
